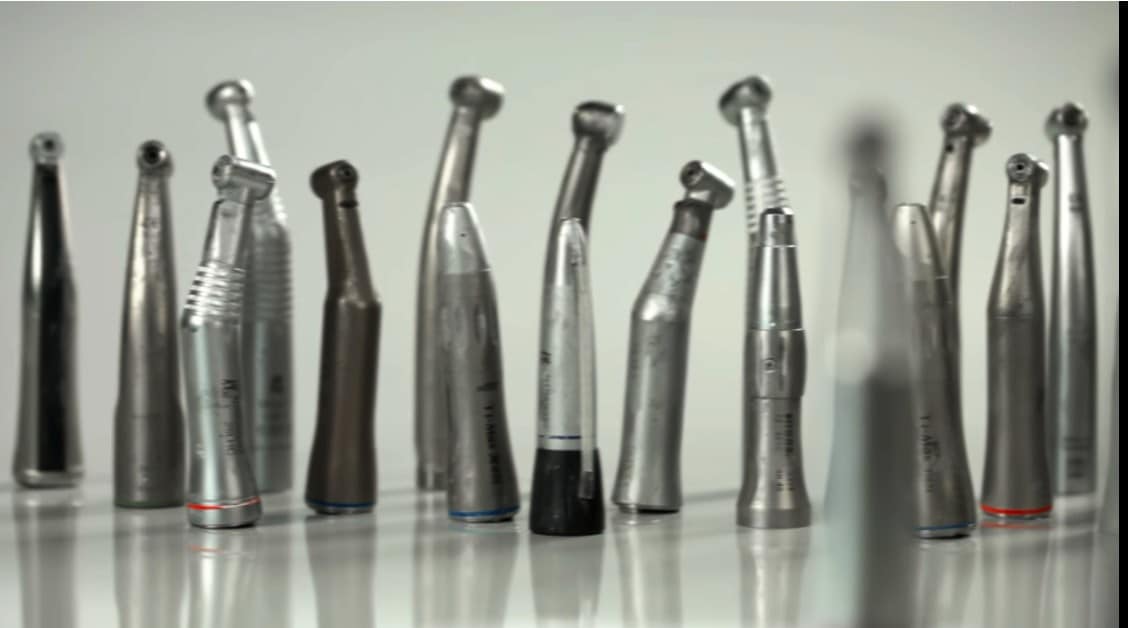
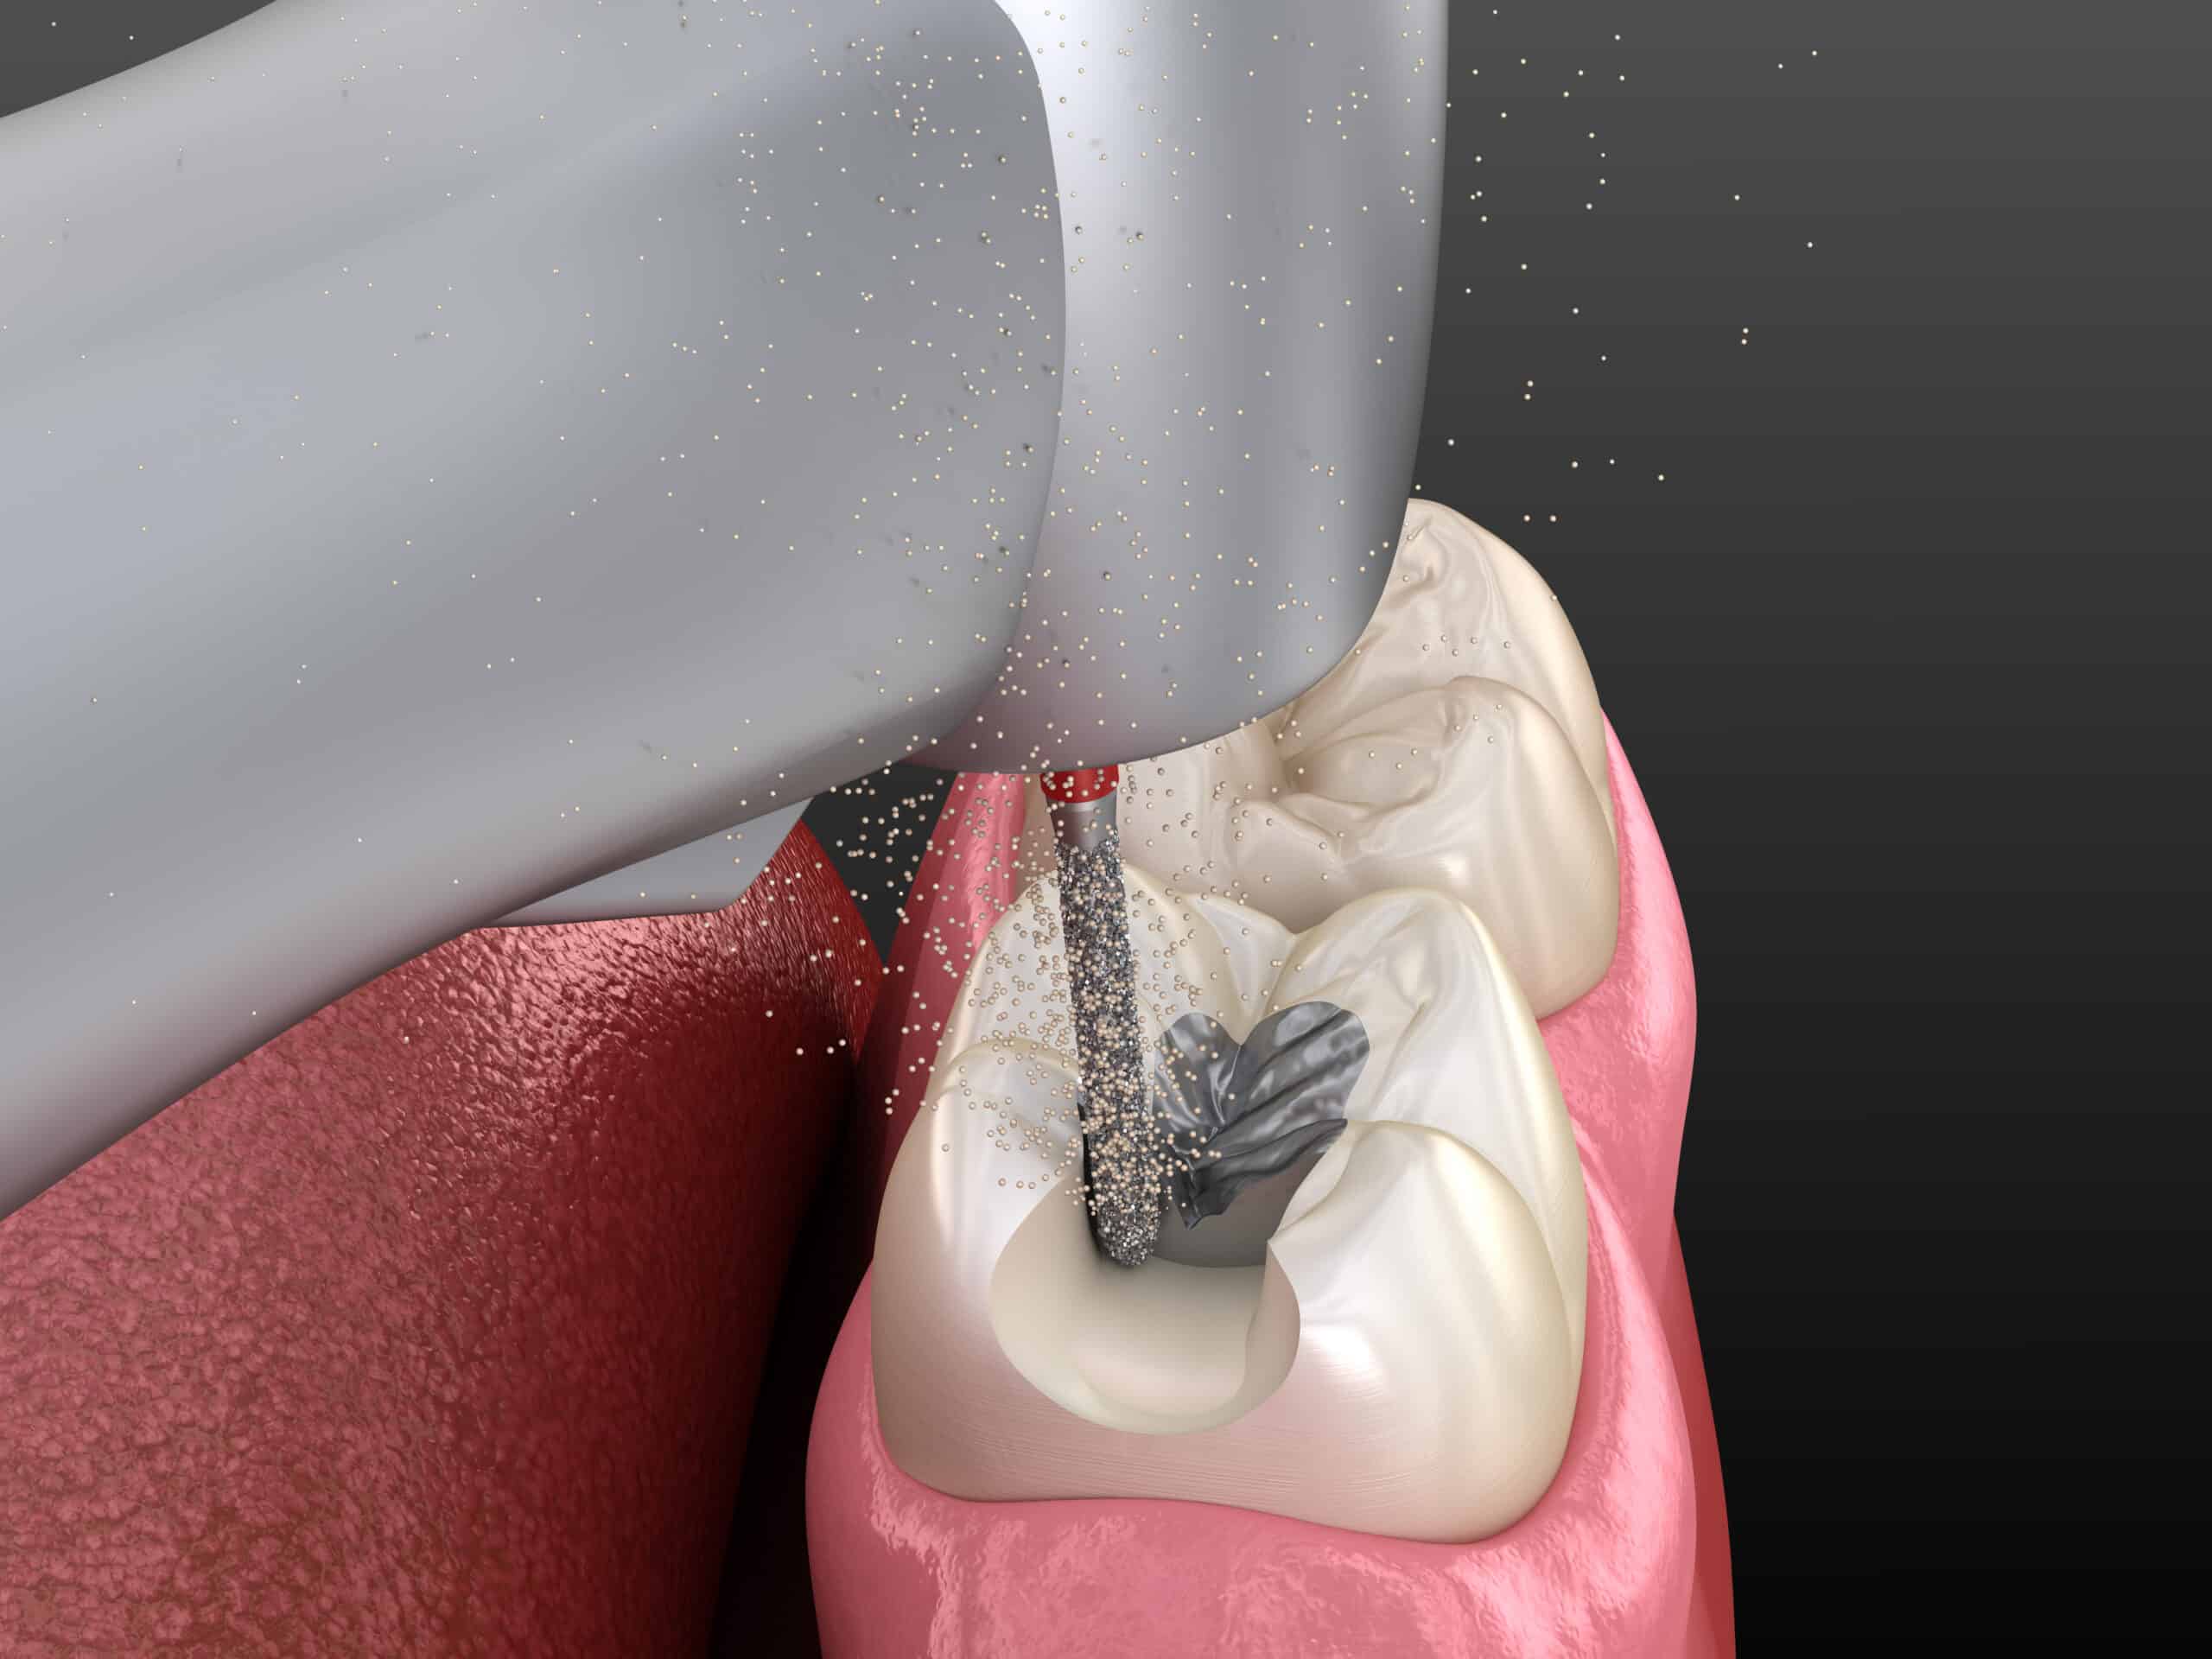
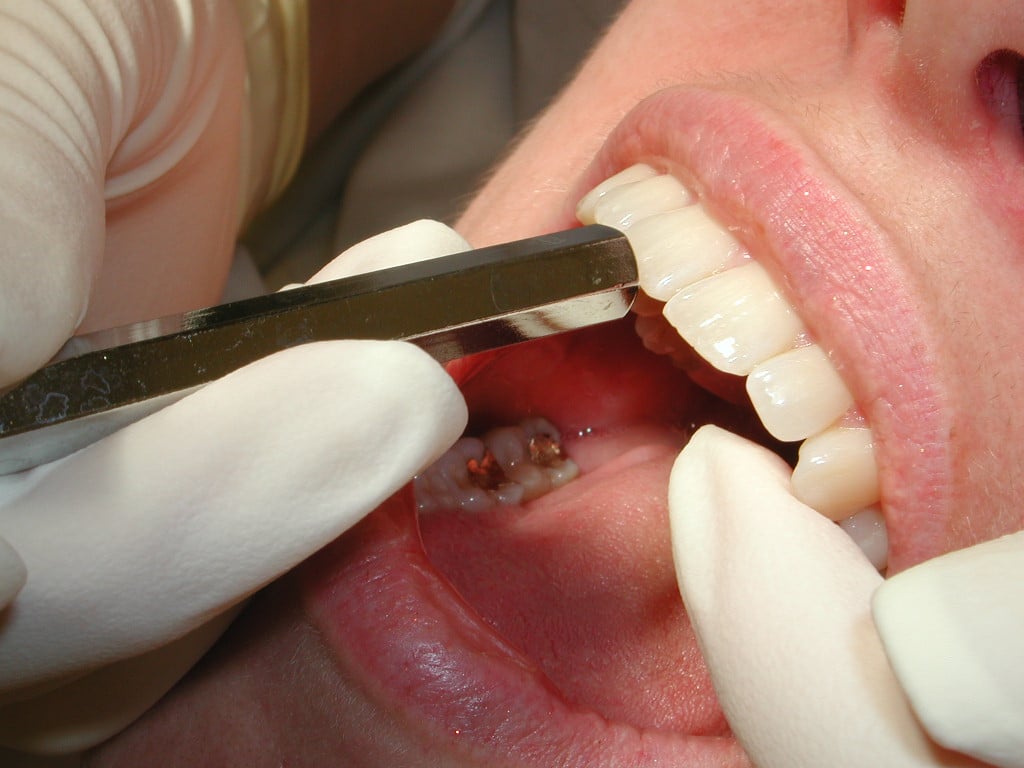
6 SIMPLE WAYS TO IMPROVE THE PERFORMANCE AND LIFE SPAN OF YOUR HANDPIECES
The introduction of both high and slow speed dental handpieces has revolutionized dental treatment, allowing for significant improvements in restorative dentistry and patient care.
Like cars, without proper preventive maintenance failures are bound to happen. Handpieces are the dentist “money-makers” as they generate value and comfort for your practice. The best way to provide the necessary maintenance is to use an ongoing schedule that focuses on both daily routines and ongoing care.
Here are some tips which you can use for your practice.
ALWAYS KEEP YOUR HANDPIECES CLEAN.
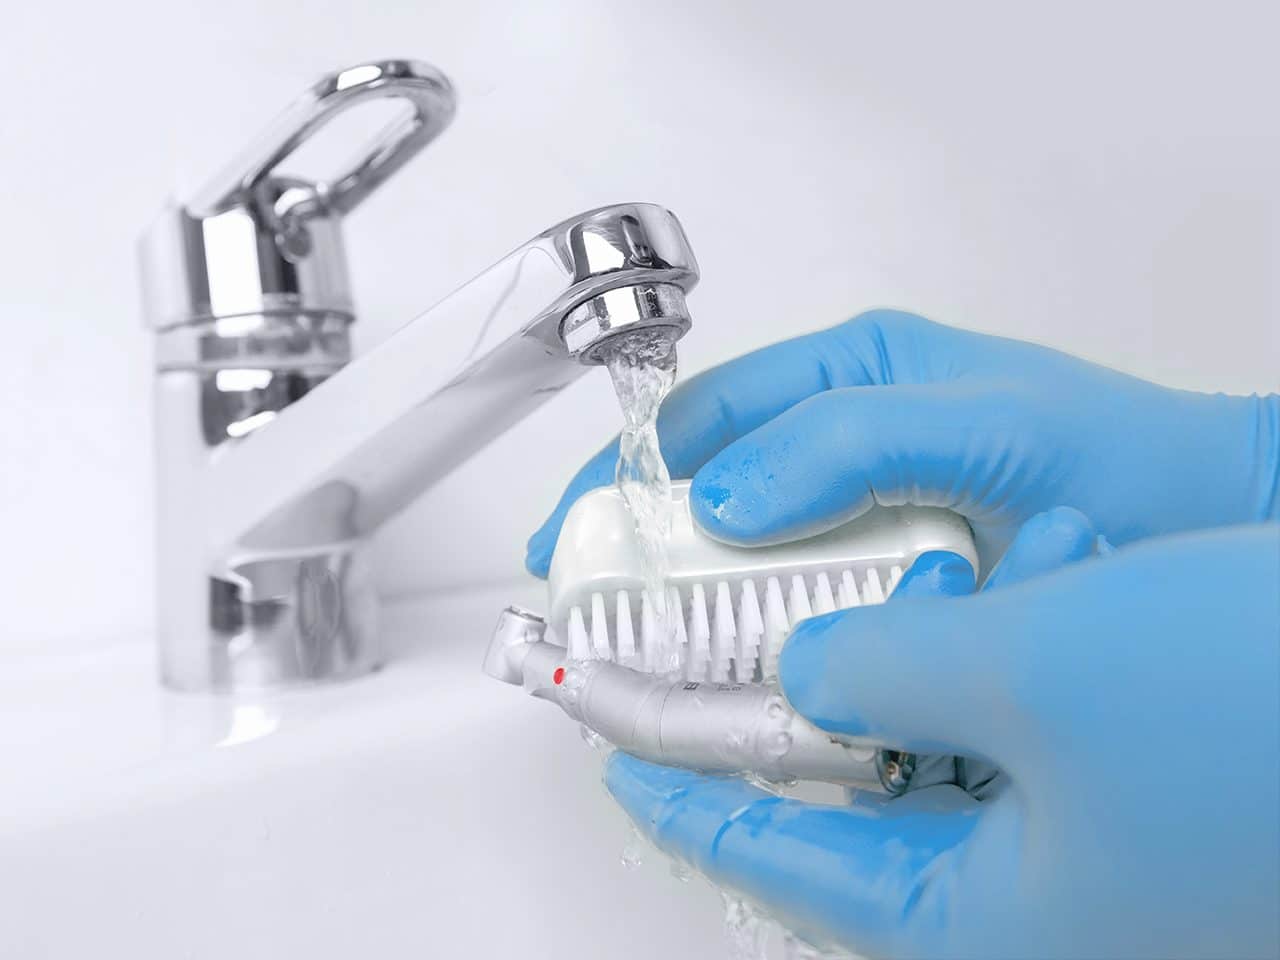
1. Wipe down the handpiece with a damp disposable cloth.
2. It is advisable to use a brush with soft bristles Clean the external surface of handpiece with running water (<38°C, demineralised water recommended). Avoid cold water as it may cause blood to coagulate inside the instrument and block the bearings and clump.
3. Avoid use chemicals or abrasives, because they will damage the outer surface of the handpiece and cause them to deteriorate in appearance, and may also remove the inner layer of lubrication.
4. DO NOT immerse the instruments in disinfectant liquids, because they corrode mechanical parts.
5. Dry the handpiece thoroughly using gauze, paper towel or air syringe.
6. If you have a busy practice with more than 2 dental chairs and has dental associates using numerous dental handpieces, then, we suggests that you invest in a dependable reprocessing devices such as W&H Assistina to provide you a faster cleaning and lubrication of your multiple handpieces.
ALWAYS PROPERLY LUBRICATE YOUR HANDPIECES.
1. After each procedure allow your high speed handpiece to run with water to wash of internally any dirt inside especially as majority uses industrial compressor rather than dental compressor with good filter. Depending on the brand, a bur may or may not be attached to the handpiece. For instance with NSK Pana Air, a bur must be attached while with W&H, removal of the bur is better. This is because of the difference in the design of its rotor.
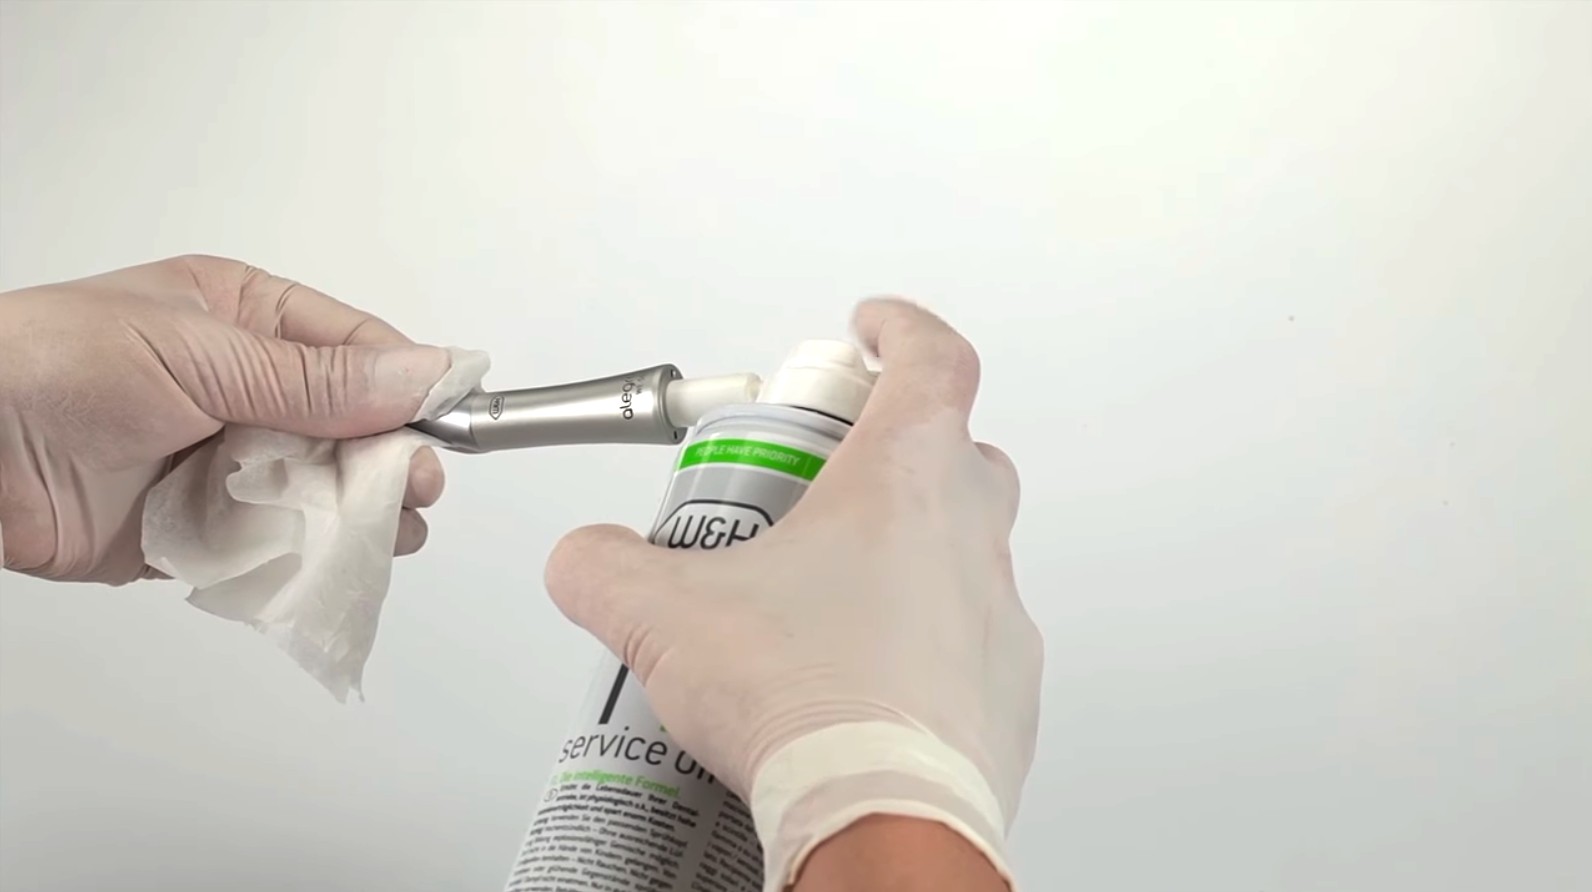
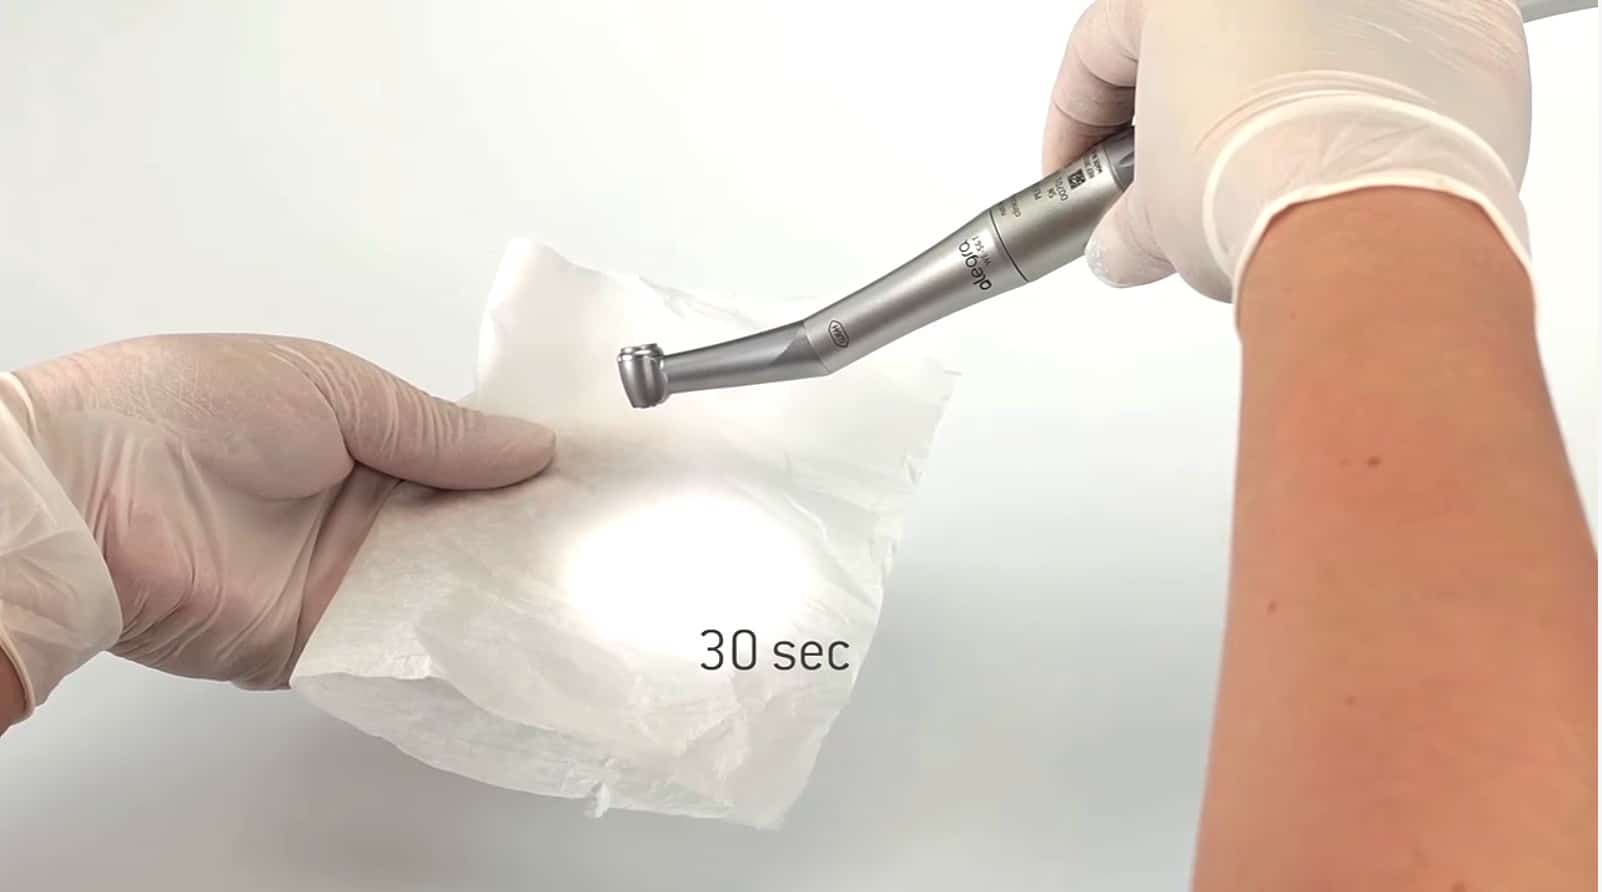
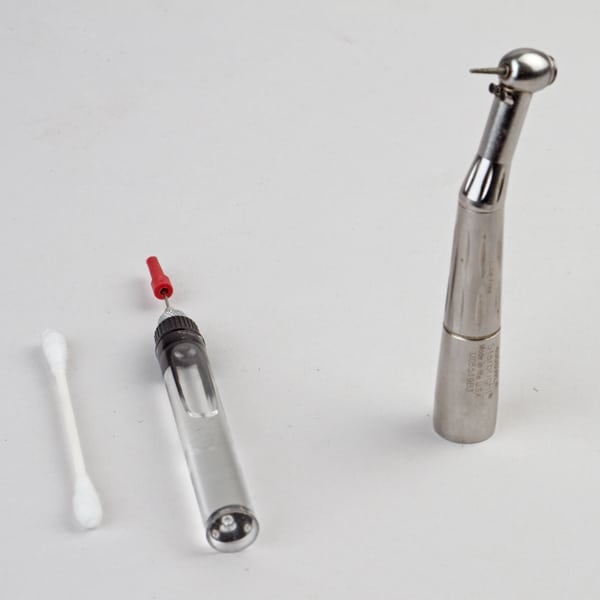
It is imperative that you lubricate your dental handpieces at the end of every procedure. To prevent mist spray from escaping into the environment, use absorbent cloth. Expel excess lubrication.
After you lubricated, attach the handpiece again to the delivery unit tubing and run the handpiece for 20-30 seconds, . In some cases, the excess oil may be discolored, and you can repeat the process until the oil is clear, ensuring a deep clean.
2. For low-speed handpieces and electric attachments, lubricants should be sprayed into the handpiece from below and install the attachment on a motor and run it to expel any debris. It is best to lubricate the motor of your device every 5 autoclaves.
3. For lube free handpieces perform the above procedure using a handpiece cleaner rather than a lubricant
4. Clean both ends of the fiber-optic bundle with a cotton swab dipped in isopropyl alcohol.
ALWAYS HAVE THE PROFESSIONAL FIX THE PROBLEM.
These are some guide questions to help you recognize if there is a problem in you handpiece
1. When you spin the bur in the handpiece between your fingers, do you feel grittiness?
2. Does the handpiece sound different?
3. Does the handpiece not cut as well as it does before even when you're using a new bur?
4. Can you remove the bur easily?
5. Does the bur attached to your handpiece wiggle when use?
In case your answer is yes to any of these questions, your handpiece has already malfunctioned. I suggest not to try to fix it yourself. Leave the repairs of your dental handpiece to the pros. Even if it seem like they're an obvious solution to a small problem, this could cause more damage than good to the handpiece, or even void your warranty.
PROBLEMS & POSSIBLE CAUSES:
(a) Excessive Vibrations - This could be an indication that the bearings within the handpiece are loose. If this is the case, they’ll need to be replaced by a dental handpiece repair specialist. Alternatively, the problem could be caused by a lack of lubrication and, if so, the handpiece should be flushed with oil as directed by the manufacturer.
(b) Reduced Revolution Speed - Over time, you may find that your handpiece’s rotation speed decreases significantly. This is most likely caused by a fault with the turbine inside, or with several other potential issues. This must be addressed immediately to avoid further problems.
(c) Disturbed Rhythm - If your handpiece makes clunking noises and rotates irregularly, this could be a motor or turbine problem. This is often caused by old age or a lack of regular servicing, and you will need to get your motor or turbine replaced. This will ensure consistently smooth revolutions that don’t pose such a risk to the teeth and gums of your patients.
At the end of the day, if there's a problem with your handpiece, fix it right with the person who can do it right, so, you can do your treatments right. Professional technicians are trained and licensed by handpiece manufacturers themselves, so they are the best people to trust when it comes to repairing and maintaining your tools.
Check the chuck
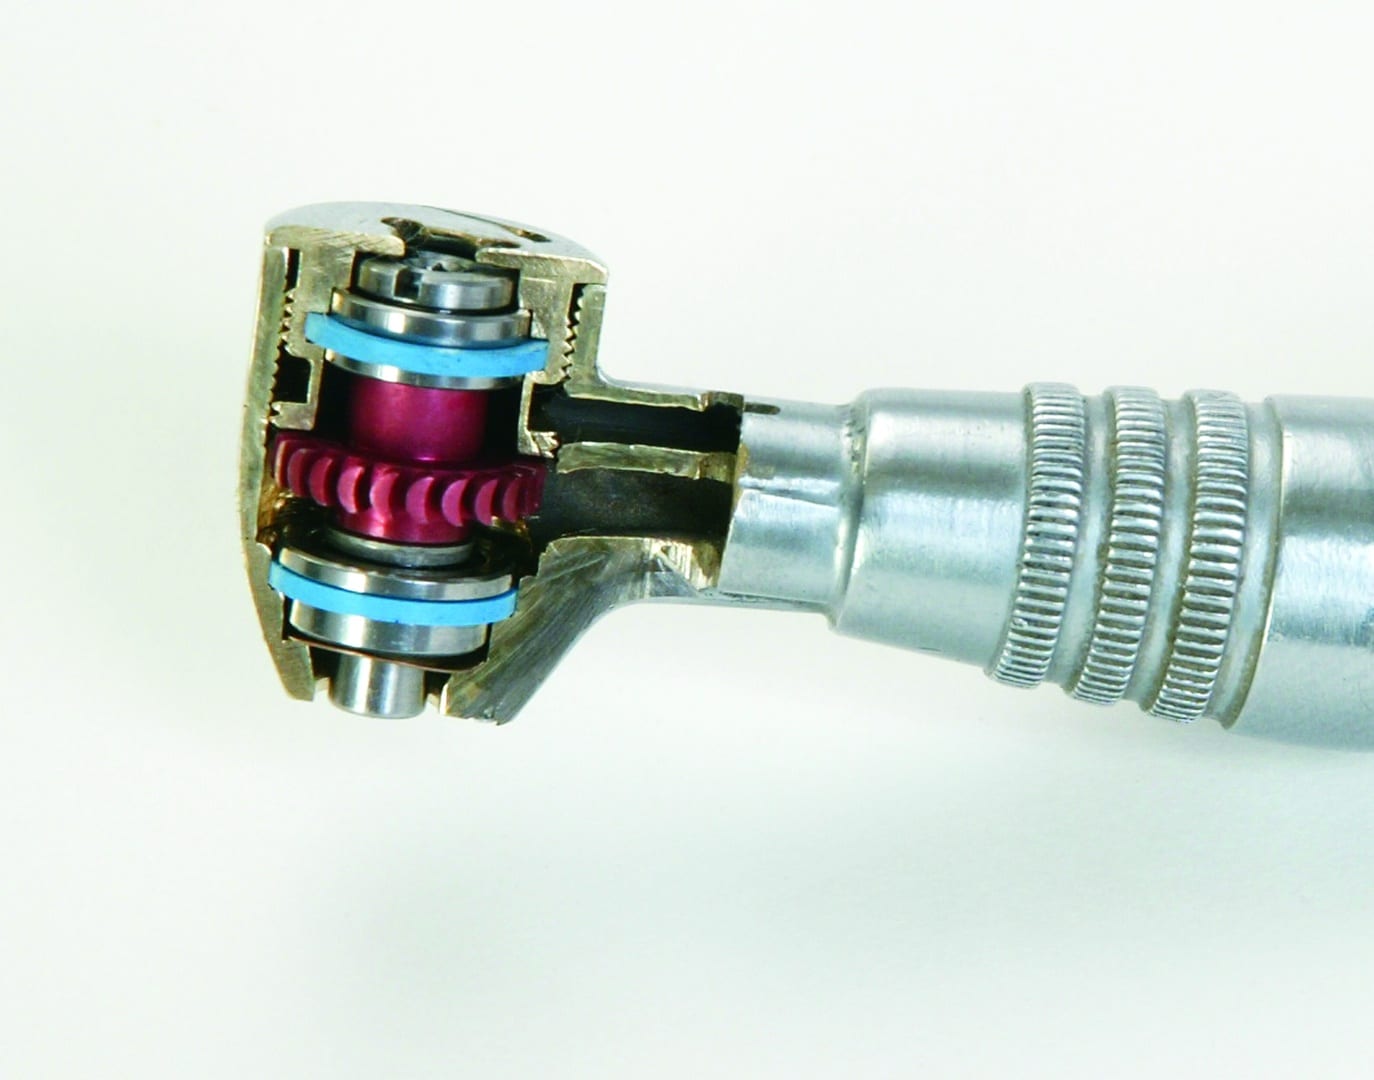
The chuck is located at the handpiece’s head and is responsible for holding the bur in place. It is an important part and should be given separate care.
1. Your chuck should be cleaned daily and lubricated at least once a week.
2. When sterilizing, remove the bur and release chuck levers beforehand. Compression of any springs and levers during heating process may cause them to weaken, shortening the life of your handpiece
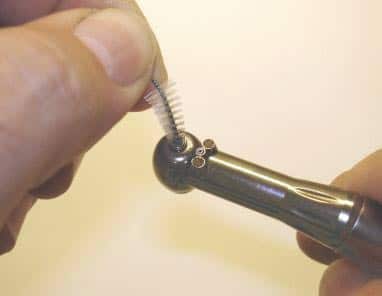
3. Use a small interproximal brush (or similar brush) dipped in alcohol. Insert the brush into the bur tube and rotate the brush several times. Repeat this process until the brush comes out clean.
ALWAYS OBSERVE PROPER INFECTION CONTROL.
1. Do not sterilize handpiece with bur inserted.
2. Do not dry heat or heat transfer sterilize.
3. Place handpieces in a sterilization pouch and seal them. We recommend autoclaving for 20 minutes (minimum holding time) at 121°C or 15 minutes (minimum holding time) at 132°C. Although, Class N autoclave is the cheapest and majorly used as a sterilizer in our practice, we highly suggests you upgrade to Class B or S sterilization for the true-blue sterilization not only of your handpieces but all of your dental instruments and autoclavable materials.
4. After the sterilization cycle, immediately remove handpieces from the autoclave. Keep them in dust-free, sterilized storage or bring them to a treatment room for use.
ALWAYS FOLLOW THE MANUFACTURER'S INSTRUCTIONS.
The manufacturer’s instruction manual provides important information regarding daily and weekly maintenance and correct RPM’s. Every type of handpieces has a specific range of ideal RPMs when it runs, so if you start to exceed its ideal range in RPM’s, you will definitely damage on certain part/s of its rotor (commonly called bearing which is actually only part of a rotor).
IN CONCLUSION
Our handpieces is like the knives of a chef, without it we cannot do our dental treatments. This is our special tool and it is not cheap, so, provide special care to it and invest time and effort to make it lasts longer and perform better to our advantage.
Contributors:
Dr. Bryan Anduiza - Writer
Dr. Jean Galindez - Writer and Editor
Images:
W&H Videos
Bienair Website

